We frequently get several questions about how to clean vape coils.
And with justification.
Among the numerous parts of a vape gear that occasionally needs cleaning is the vape coil. However, keeping a coil clean is more difficult than cleaning hardware like a vape tank for understandable reasons.
For the benefit of anyone else who might be curious about keeping a vape coil clean, we decided to write a step-by-step guide on it.
And the important information is this…
What is a Vape Coil and Why is It Important?
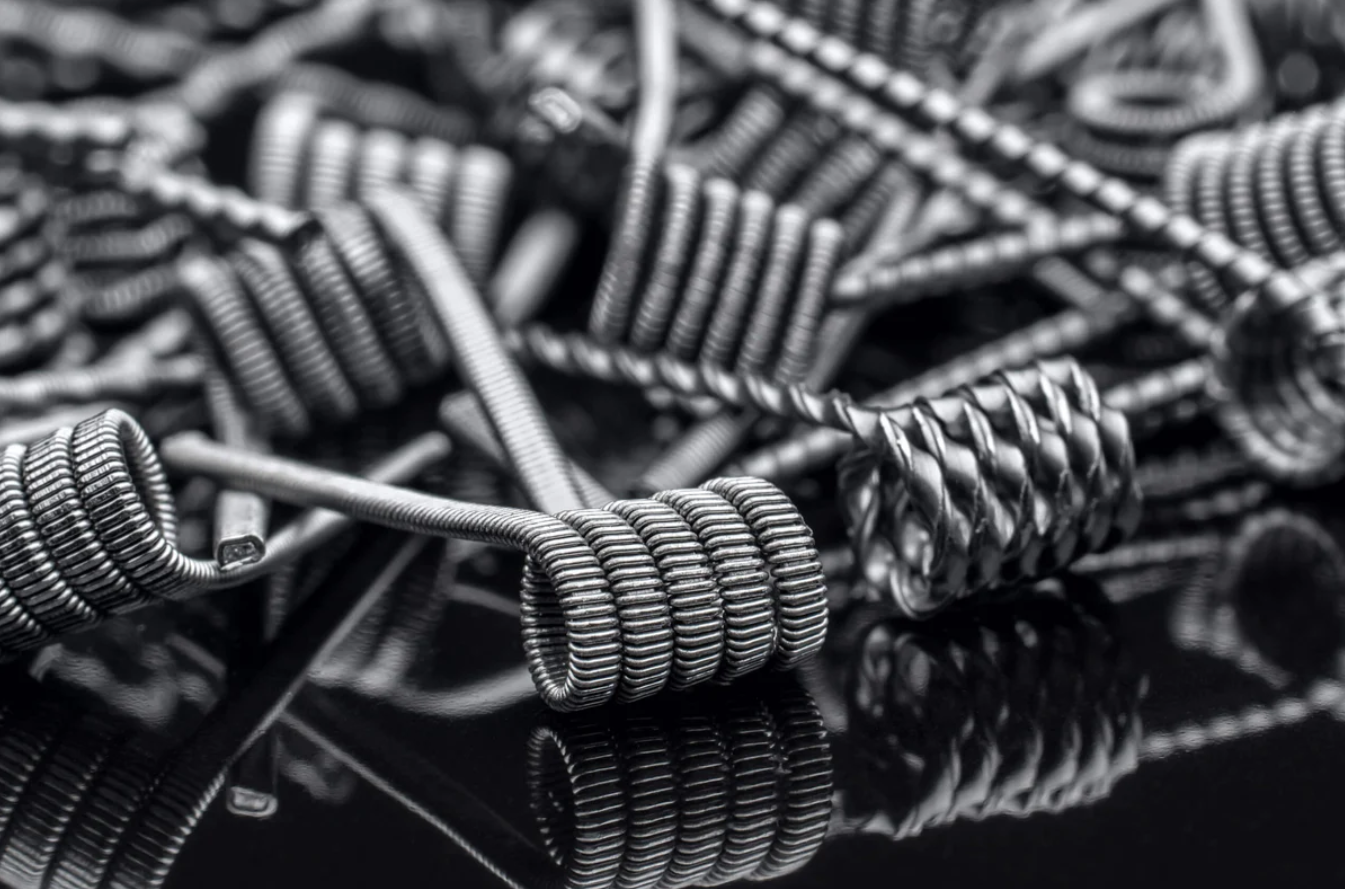
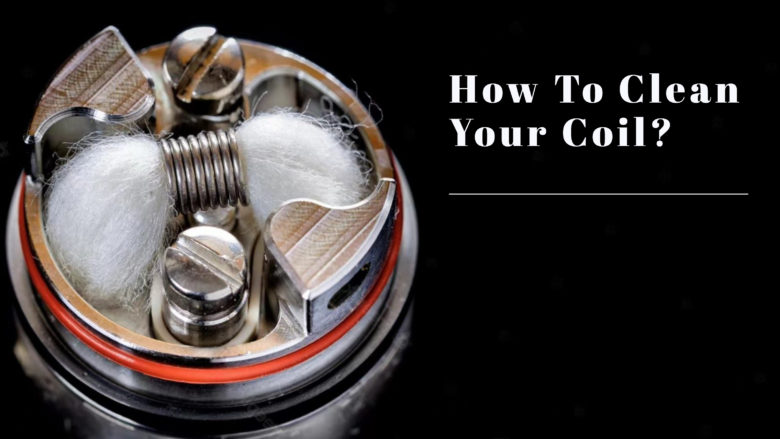
Each and every type of vape gadget needs a vape coil. Coils are one of the parts of any vaporizer that are overworked the most, together with the battery. They are the area of your atomizer where the e-liquid is heated, which produces the vapor you breathe in. If you’re using c-liquid, this same coil is what turns your dose into vapor, so any buildup or damage can noticeably change how smooth and consistent it feels.
Coils do not, however, endure as long as a battery does. They are fragile, and even something as simple as not priming your wick (saturating the cotton encircling the coil) before vaping might result in the coil burning in a matter of seconds. That is simply how they are constructed.
A decent coil lasts, on average, two weeks for the serious vaper—but only if the coil is well-maintained. For instance, by using techniques like adequate priming.
Working with clean coils is crucial because they have a direct impact on how much you’ll enjoy vaping. The flavor of your vapor is improved by a clean coil, however, the reasons we need to clean them frequently go beyond this significant point.
The longevity of your coils can be extended by cleaning them, as any seasoned vaper will inform you. By extension, maintaining your coils’ cleanness will help you reduce your general vaping expenses since you won’t need to replace them as regularly.
How to Clean a Vape Coil Professionally?
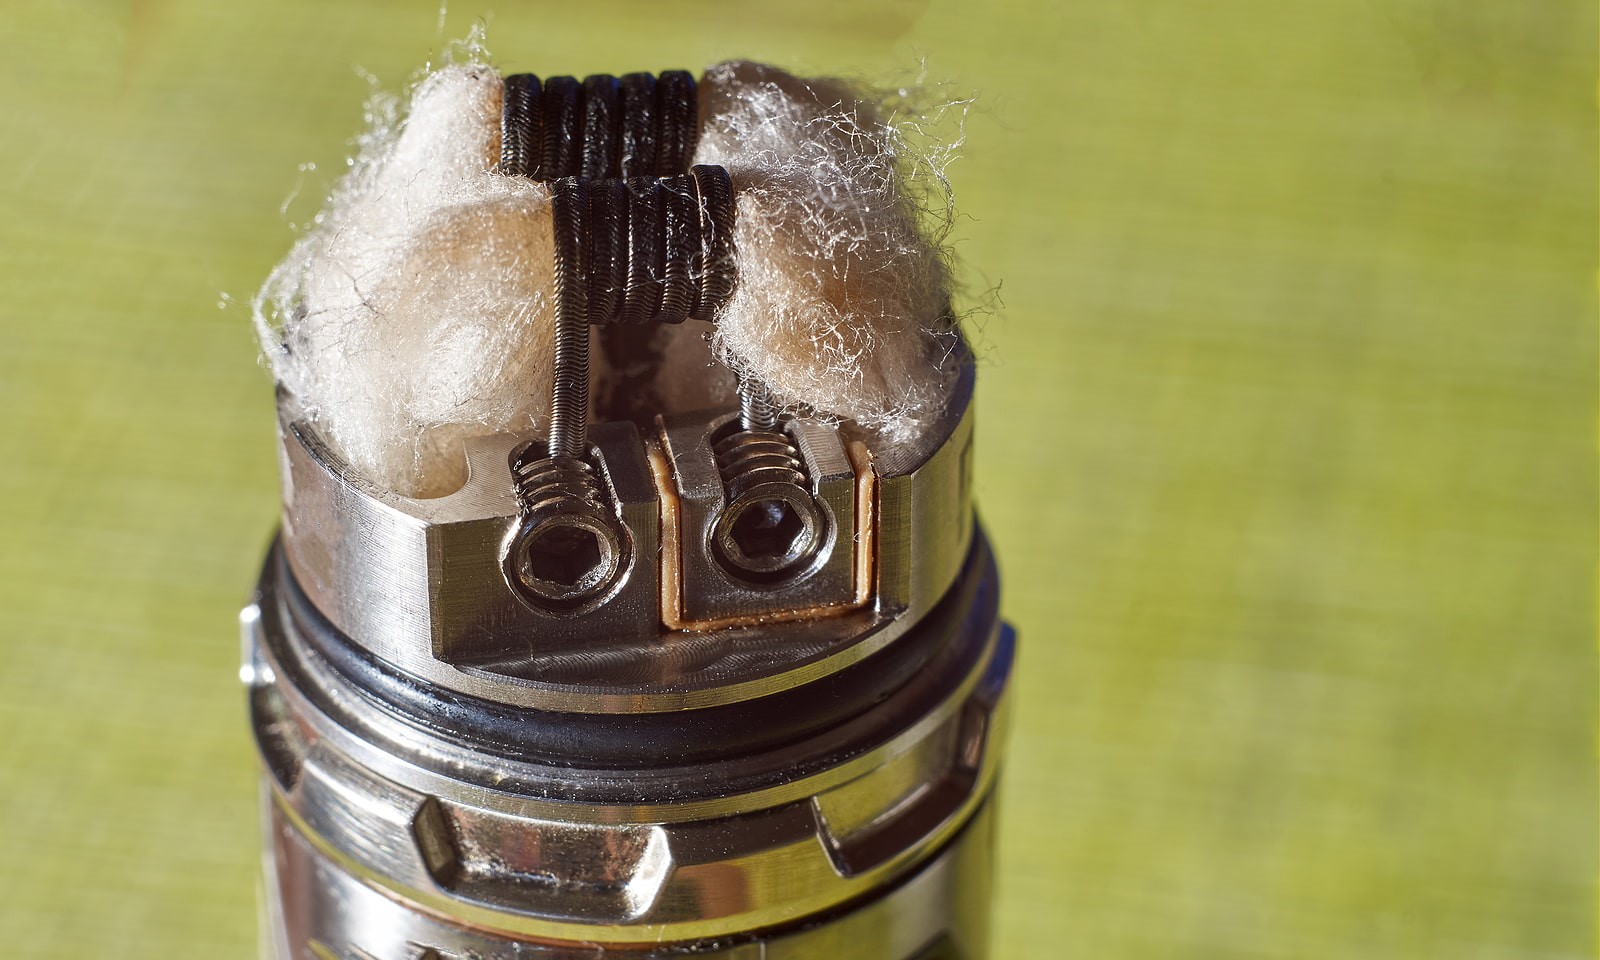
What is the proper procedure for cleaning vape coils?
Here’s how to go about it properly.
- Simply Clean
Most vapers who are diligent about maintaining their devices use a cotton bud or Q-tip to quickly wipe the coil at the end of every day.
High VG e-liquids particularly can cause coils to strengthen gunk quickly. If the e-liquid in consideration is high in sugar (which includes most fruit and sweet-based), exposure to heat can cause the juice to caramelize.
Cleaning up any debris that may have accumulated over the day is quick and easy, but it’s important to do so before it freezes out and solidifies on the coil. This is because allowing the e-liquid gunk to adhere to your coils for a prolonged period of time is what makes the coils finally burn out and change color.
You would be wise to incorporate this into your vaping regimen, especially if you frequently swap flavors, cleaning your vape coil (and tank) is a need if you don’t want your vape to suffer.
- Make your Coils Soak
Your coils will be cleaned more thoroughly if you soak them. What do you soak the coils in, and how long do you immerse them in them?
One alternative is transparent alcohol, like ethanol or vodka (vinegar if you rather). Alternatively, you may always opt for warm water.
An overnight soak in water should dissolve any debris on the coils and reach even the smallest crevices. This is an ideal technique to clean the coils if it has been a while since your last swab or cleaning. However, if you’re pressed for time, two hours should be enough.
You may always choose vodka when it comes to alcoholic beverages because it is less expensive and more widely available. Additionally, if you leave it outside for a couple of hours, it won’t create a strange stench in your room.
But soaking comes with a warning.
Even after allowing the cotton space to dry, soaking atomizers with their wicks still in place makes it more difficult for the wick to absorb e-liquid the following time you utilize it. This thus reduces flavor and has an effect on cloud generation.
Because of this, always ensure that you keep your coils and wick apart when soaking them.
Finally, after soaking coils in alcohol, immediately rinse them in cold water before using them.
They are going to be like new!

