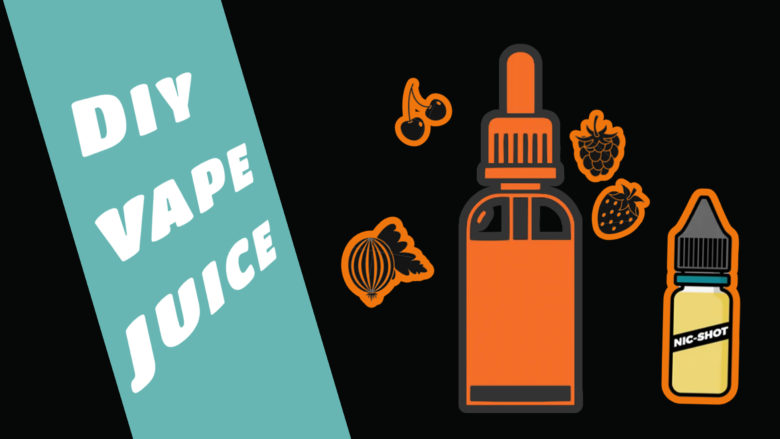
Some few years ago, how to make vape juice at home was a nebulous concept confined exclusively to the most ardent vape enthusiasts. With many jurisdictions restricting vaping devices, homemade vape juice has emerged as a crucial aspect of vaping for those smokers transitioning to vaping.
DIY vape juice provides vapers with an entirely new level of customization. It’s an excellent alternative if you’re seeking a particular flavor profile or simply wish to save cash. In this article, we’ll go through the fundamentals of making your first mix.
How to Make Vape Juice: Ingredients and Tools You Need
Base Ingredients
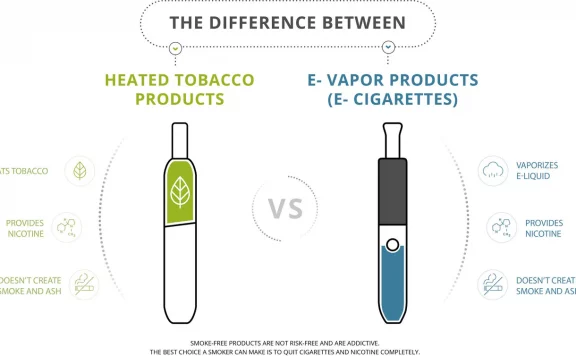
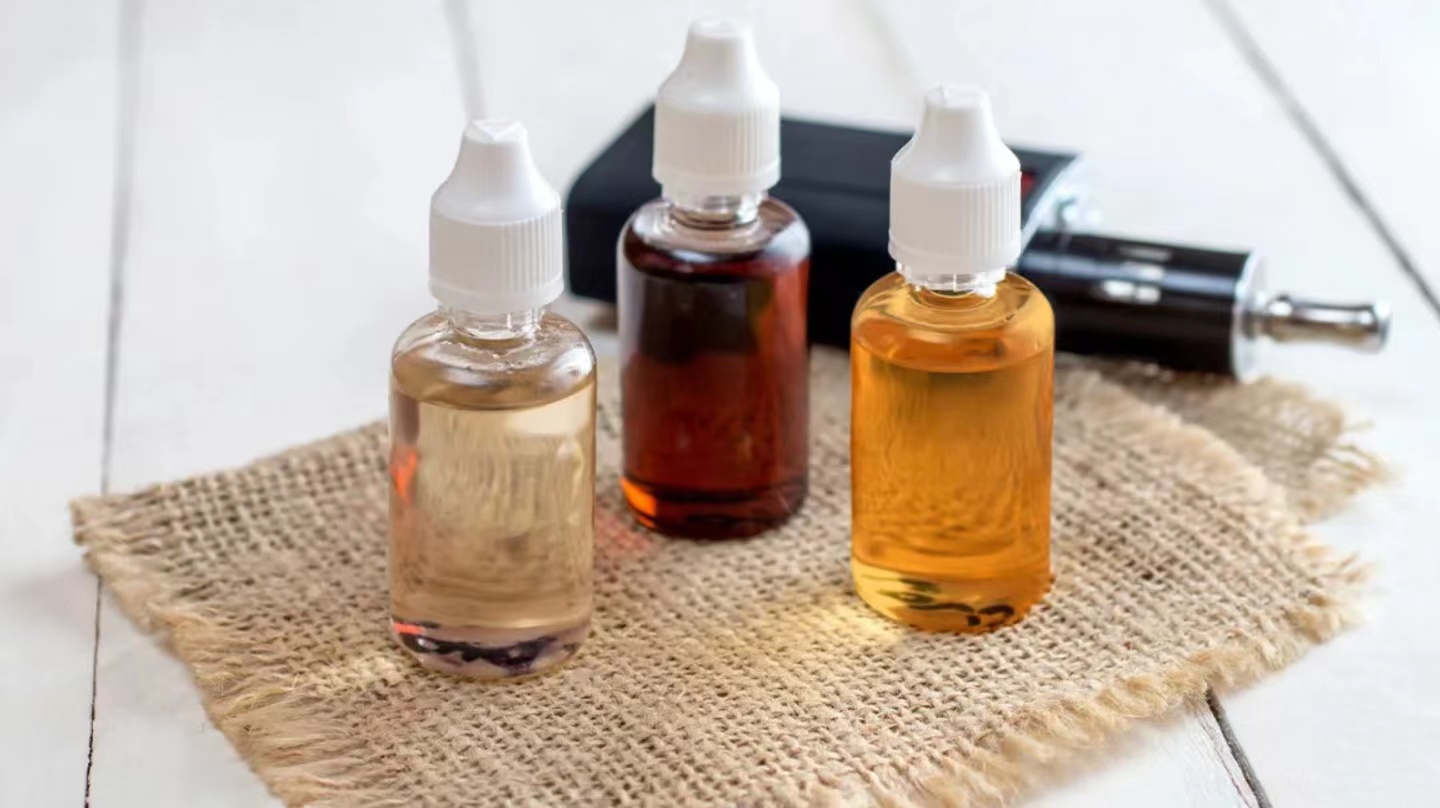
You will begin with the same base ingredients irrespectively of the nicotine strength or flavor profile you desire to combine. Propylene glycol (PG) and vegetable glycerine (VG) serve as the foundation for e-juice production.
Different ratios of these chemicals must be utilized, depending on your preferred vaping device, vapor output, and throat hit. When bought in quantity, these base ingredients are relatively inexpensive, so start stocking up and experimenting to see which base components suit your vaping approach the finest.
For MTL and DTL(or RDL) vaping styles, a decent starting point is 50:50 VG:PG and 70:30 VG:PG, respectively. You can try some small experiments from here. For instance, adding more VG will boost vapor production and lessen throat impacts. Raising the PG content will enable you to get the greater throat hit, less vapor, and lower viscosity that you desire.
To achieve the best quality, you have to always verify that your PG and VG are of pharmaceutical grade. The grade that applies to you will change based on the area you live. This is indicated by “BP” in the UK, “EP” in the EU, and “USP” in the US.
Nicotine
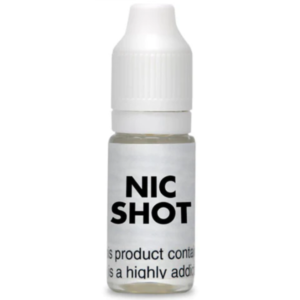
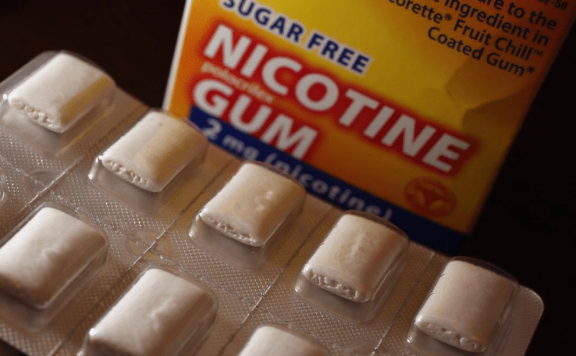
To their blends, the majority of vapers will desire to add nicotine. Customers who reside in the UK or the EU must use nicotine “shots” that comply with the TPD, which means the nicotine concentration shouldn’t exceed 20 mg/ml. This caps the maximum nicotine content of the e-juice, but for the majority of vapers, it ought to be sufficient.
Liquid nicotine is regulated differently in different areas, so ensure you abide by local regulations and only buy nicotine from reliable suppliers that can back up the quality and provenance of their goods.
It’s crucial to precisely measure the exact nicotine content of the e-juice, whether you’re employing TPD-compliant nicotine doses or a greater nicotine concentration. This will be covered in the section after this. If you’re not sure what kind of nicotine or what nicotine strength will work best for you, have a look at this article, which goes into great detail on the topic.
Flavorings
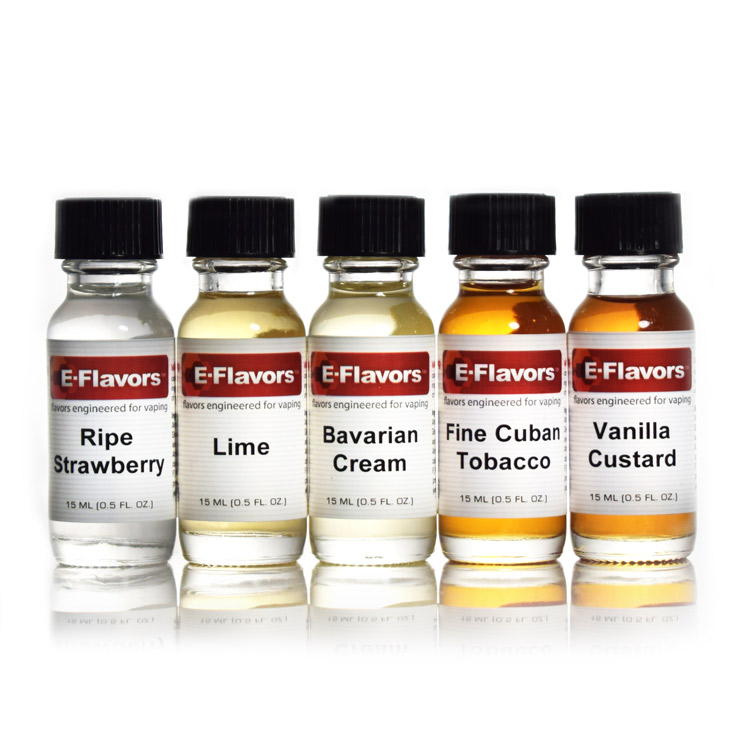
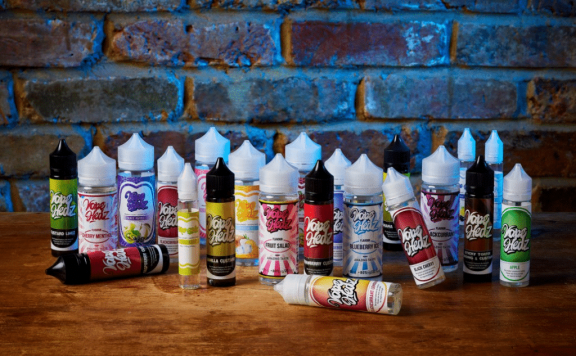
Numerous food-grade flavorings are available for use in homemade vape juice. Begin with well-known brands, though, as you can quickly obtain flavor notes and suggested concentrations in this method.
Brands like Flavor Apprentice, Flavorah, Hangsen, Flavor Art, and Capella are frequently utilized in DIY e-juice recipes.
If you are uncertain of how powerful your selected concentrate is, check through flavoring evaluations or prepare a few small test batches. There are thousands of DIY vape juice recipes available in numerous internet groups. Before developing their own recipes, most novice mixers begin with common ones. The websites e-liquid-recipes.com and Alltheflavours.com are excellent tools for experimenting with well-liked concoctions.
Never combine oil-based flavoring with e-juice because doing so could be very detrimental to your health. Never use concentrate for vaping if you are unsure about it.
Tools and Environment
It’s crucial to make high-quality DIY vape juice safely with the right tools in the correct setting.
When blending e-liquid, you must always wear safety gloves to avoid coming into touch with nicotine as well as other potentially irritating components. To make sure that your e-liquid is free of impurities, you also must mix in a sterile setting on a firm, level surface.
The method of measuring the ingredients is the next thing you should think about. This can be accomplished in one of the main methods: by weight or by volume. You can get the precise figures needed by employing an online e-juice calculator in any scenario.
- Using weight as a measure
The ideal approach is weight measurement because it is precise and quick, and equipment cleanup is minimal.
You must invest in a digital scale that really is accurate to 0.01g in order to measure by weight. Owing to its dependability and efficiency, the American Weigh Scales LB-501 is highly recommended by seasoned mixers.
You could drip the ingredients into the e-liquid bottle straight from their jars when combined by weight using a digital scale to get the desired result. Repeat this process until the desired weight is attained. Input spillage is significantly decreased as a result.
- Using volume as a measure
Because a digital scale is not required, gauging by volume needs a lower initial outlay. However, compared to measurement by weight, it is less precise, takes longer, and needs more apparatus cleaning.
You’ll need to buy a pair of 1ml–10ml blunt tip syringes as well as blunt needle tips if you want to gauge by volume.
To complete your blend, your online e-juice calculator will show you how much of every ingredient is required. It can take some time to operate the syringes correctly, and you must carefully tidy them following each use. We advise getting a scale and calculating by weight whenever possible because of this.
Calculate and Blend
After you’ve gathered the necessary supplies, the correct tools, and a recipe, you’re now ready to do the math and start mixing!
There are numerous e-liquid calculators available online, but two of the better-known ones are e-liquid-recipes.com and Steam Engine. Once you’ve selected a calculator, attentively enter all of the pertinent data, and it will show you the exact amounts of each item you’ll need to make your blend.
After adding all the components, shake the e-juice container thoroughly for about a minute to ensure that everything is well combined. The mixture should have no streaks and have a uniform color after correct mixing.
Steeping
It’s incredibly tempting to begin vaping the first batch of homemade e-juice right immediately. In whatsoever case, you need to wait for the air bubbles to disappear for at minimum an hour or more.
Some flavor combinations taste nice nearly right away, especially simpler blends and softer flavors like fruits. The DIY e-juice community frequently refers to these flavor combinations as “shake and vape.”
To fully develop other flavor profiles, “steeping” is necessary. Simply keep your liquid enclosed in a cool, dark location to steep it. Different flavor profiles could call for varying timeframe of steeping. For instance, many light cream recipes improve from steeping for 1-2 weeks, whereas a thick custard may be at its best for one month or longer.